Building Your Own PC: 10 Simple Steps to Get You Started.
Even though it may appear difficult, building a PC can be enjoyable and rewarding with the right guide. Here are 10 simple steps to setting up a PC for beginners:
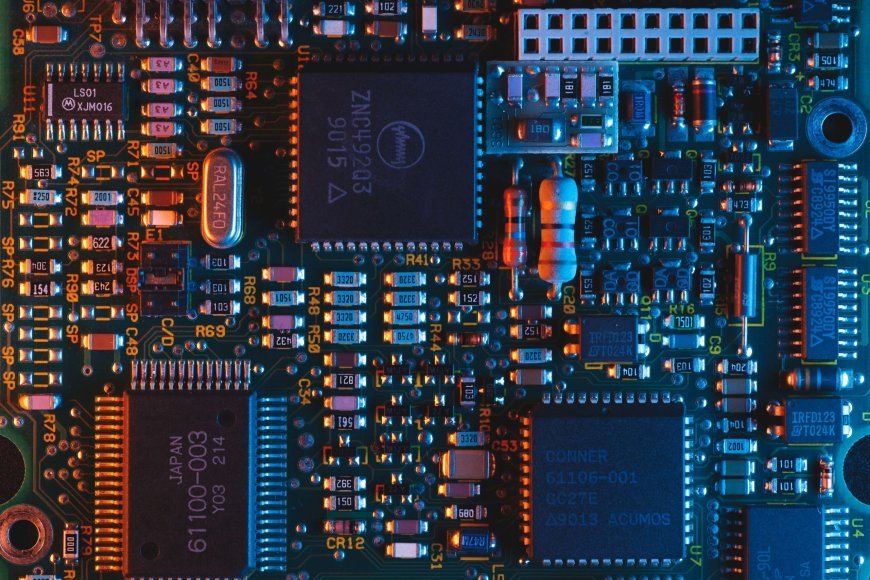
Even though it may appear difficult, building a PC can be enjoyable and rewarding with the right guide. Here are 10 simple steps to setting up a PC for beginners:
Step 1: Compile all the necessary materials.
Getting all the parts you need for assembling your PC together is the first step. The CPU, motherboard, RAM, storage, power supply, the case, and sometimes a graphics card are all included in this. Ensure that all of the parts are functioning correctly.
Step 2: Set up your work area.
When building your PC, pick an area that is tidy and well-lit. Make sure you have all the required equipment on hand, including a screwdriver.
Step 3: Set up the CPU
Locate the CPU socket on the motherboard first. To open the socket, lift the socket lever and line the notches on the CPU with the notches on the socket. Lower the CPU carefully into the socket, taking care not to touch any of the pins. Lower the socket lever after the CPU is in position to secure it.
Step 4: Attach the CPU cooler.
After that, add the thermal paste to the top of the CPU and connect the CPU cooler. A fan, liquid cooling system, or heatsink with a fan might be used. To firmly attach your CPU cooler to the motherboard, follow the instructions that came with it.
Step 5: Install the RAM.
Put the RAM sticks in the motherboard’s matching RAM slots. As soon as they click into place, apply pressure firmly. Make sure the locking tabs on the slots’ sides close securely.
Step 6: Set up the storage.
Connect the storage device to the case’s corresponding drive bay. SATA (Serial Advanced Technology Attachment) and power cables should be connected to the motherboard and power supply. Ensure the connections are tightly linked and that the drive is positioned securely.
Step 7: Install the graphics card.
Put your dedicated graphics card in the motherboard’s PCIe (peripheral component interconnect express) slot if you have one. To secure the graphics card, confirm that the locking mechanism clicks into place.
Step 8: Connect the power supply.
Connect the wires to the motherboard and other components, and then secure the power supply to the casing. Verify that the cables are securely fastened and linked.
Step 9: Connect the peripherals.
Connect any additional devices to the correct ports on the motherboard or graphics card, including your monitor, keyboard, and mouse.
Step 10:
Turn on the computer and install the operating system.
Once everything is connected, switch on your computer by pressing the power button. The BIOS screen should appear if everything is operating as it should. Install the operating system of your choice by following the instructions. Congratulations on building your own PC successfully!
image sources:
https://unsplash.com/photos/jXd2FSvcRr8?utm_source=unsplash&utm_medium=referral&utm_content=creditShareLink
https://img.freepik.com/free-photo/technician-repairing-computer-computer-hardware-repairing-upgrade-technology_1150-8861.jpg?
What's Your Reaction?


/https://tf-cmsv2-smithsonianmag-media.s3.amazonaws.com/filer_public/54/66/546650fa-26a4-40fd-8d6d-5a7a04540f81/rosetta2.png)
:max_bytes(150000):strip_icc():focal(999x0:1001x2)/robert-prevost-050825-1-39395418ab494da5a3a700c9478e66c8.jpg)
















format(webp))
format(webp))


